Published October 20, 2025 11:02AM
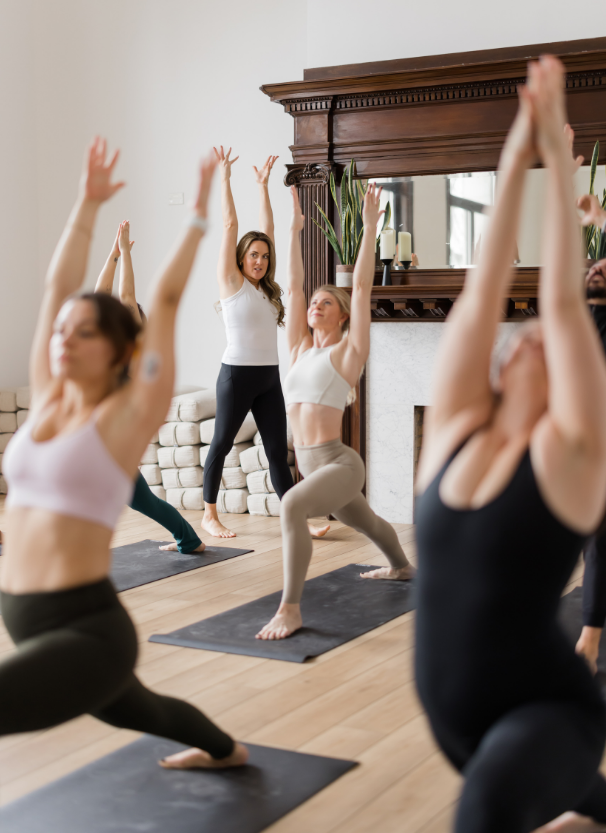
Warrior 3 is one of those poses that always draws a reaction from students. Whenever I mention that we’re “working up to it,” I can see eye rolls and feel the “Oh, that’s easy” vibes overtake a lot of students in the room. The nods, the subtle smiles, the relaxed shoulders, the sense of “Phew, no big deal, I do this one all the time.”
And then we actually do it.
We hold the pose for than a fleeting transition. We take the time to slow our pace, break the pose down, and explore the details. And that’s when the notion of “easy” dissolves.
The wobble shows up. So does the sweat. Faces shift from casual confidence to wide-eyed concentration. The truth shows up that this pose is hard. But it’s also powerful.
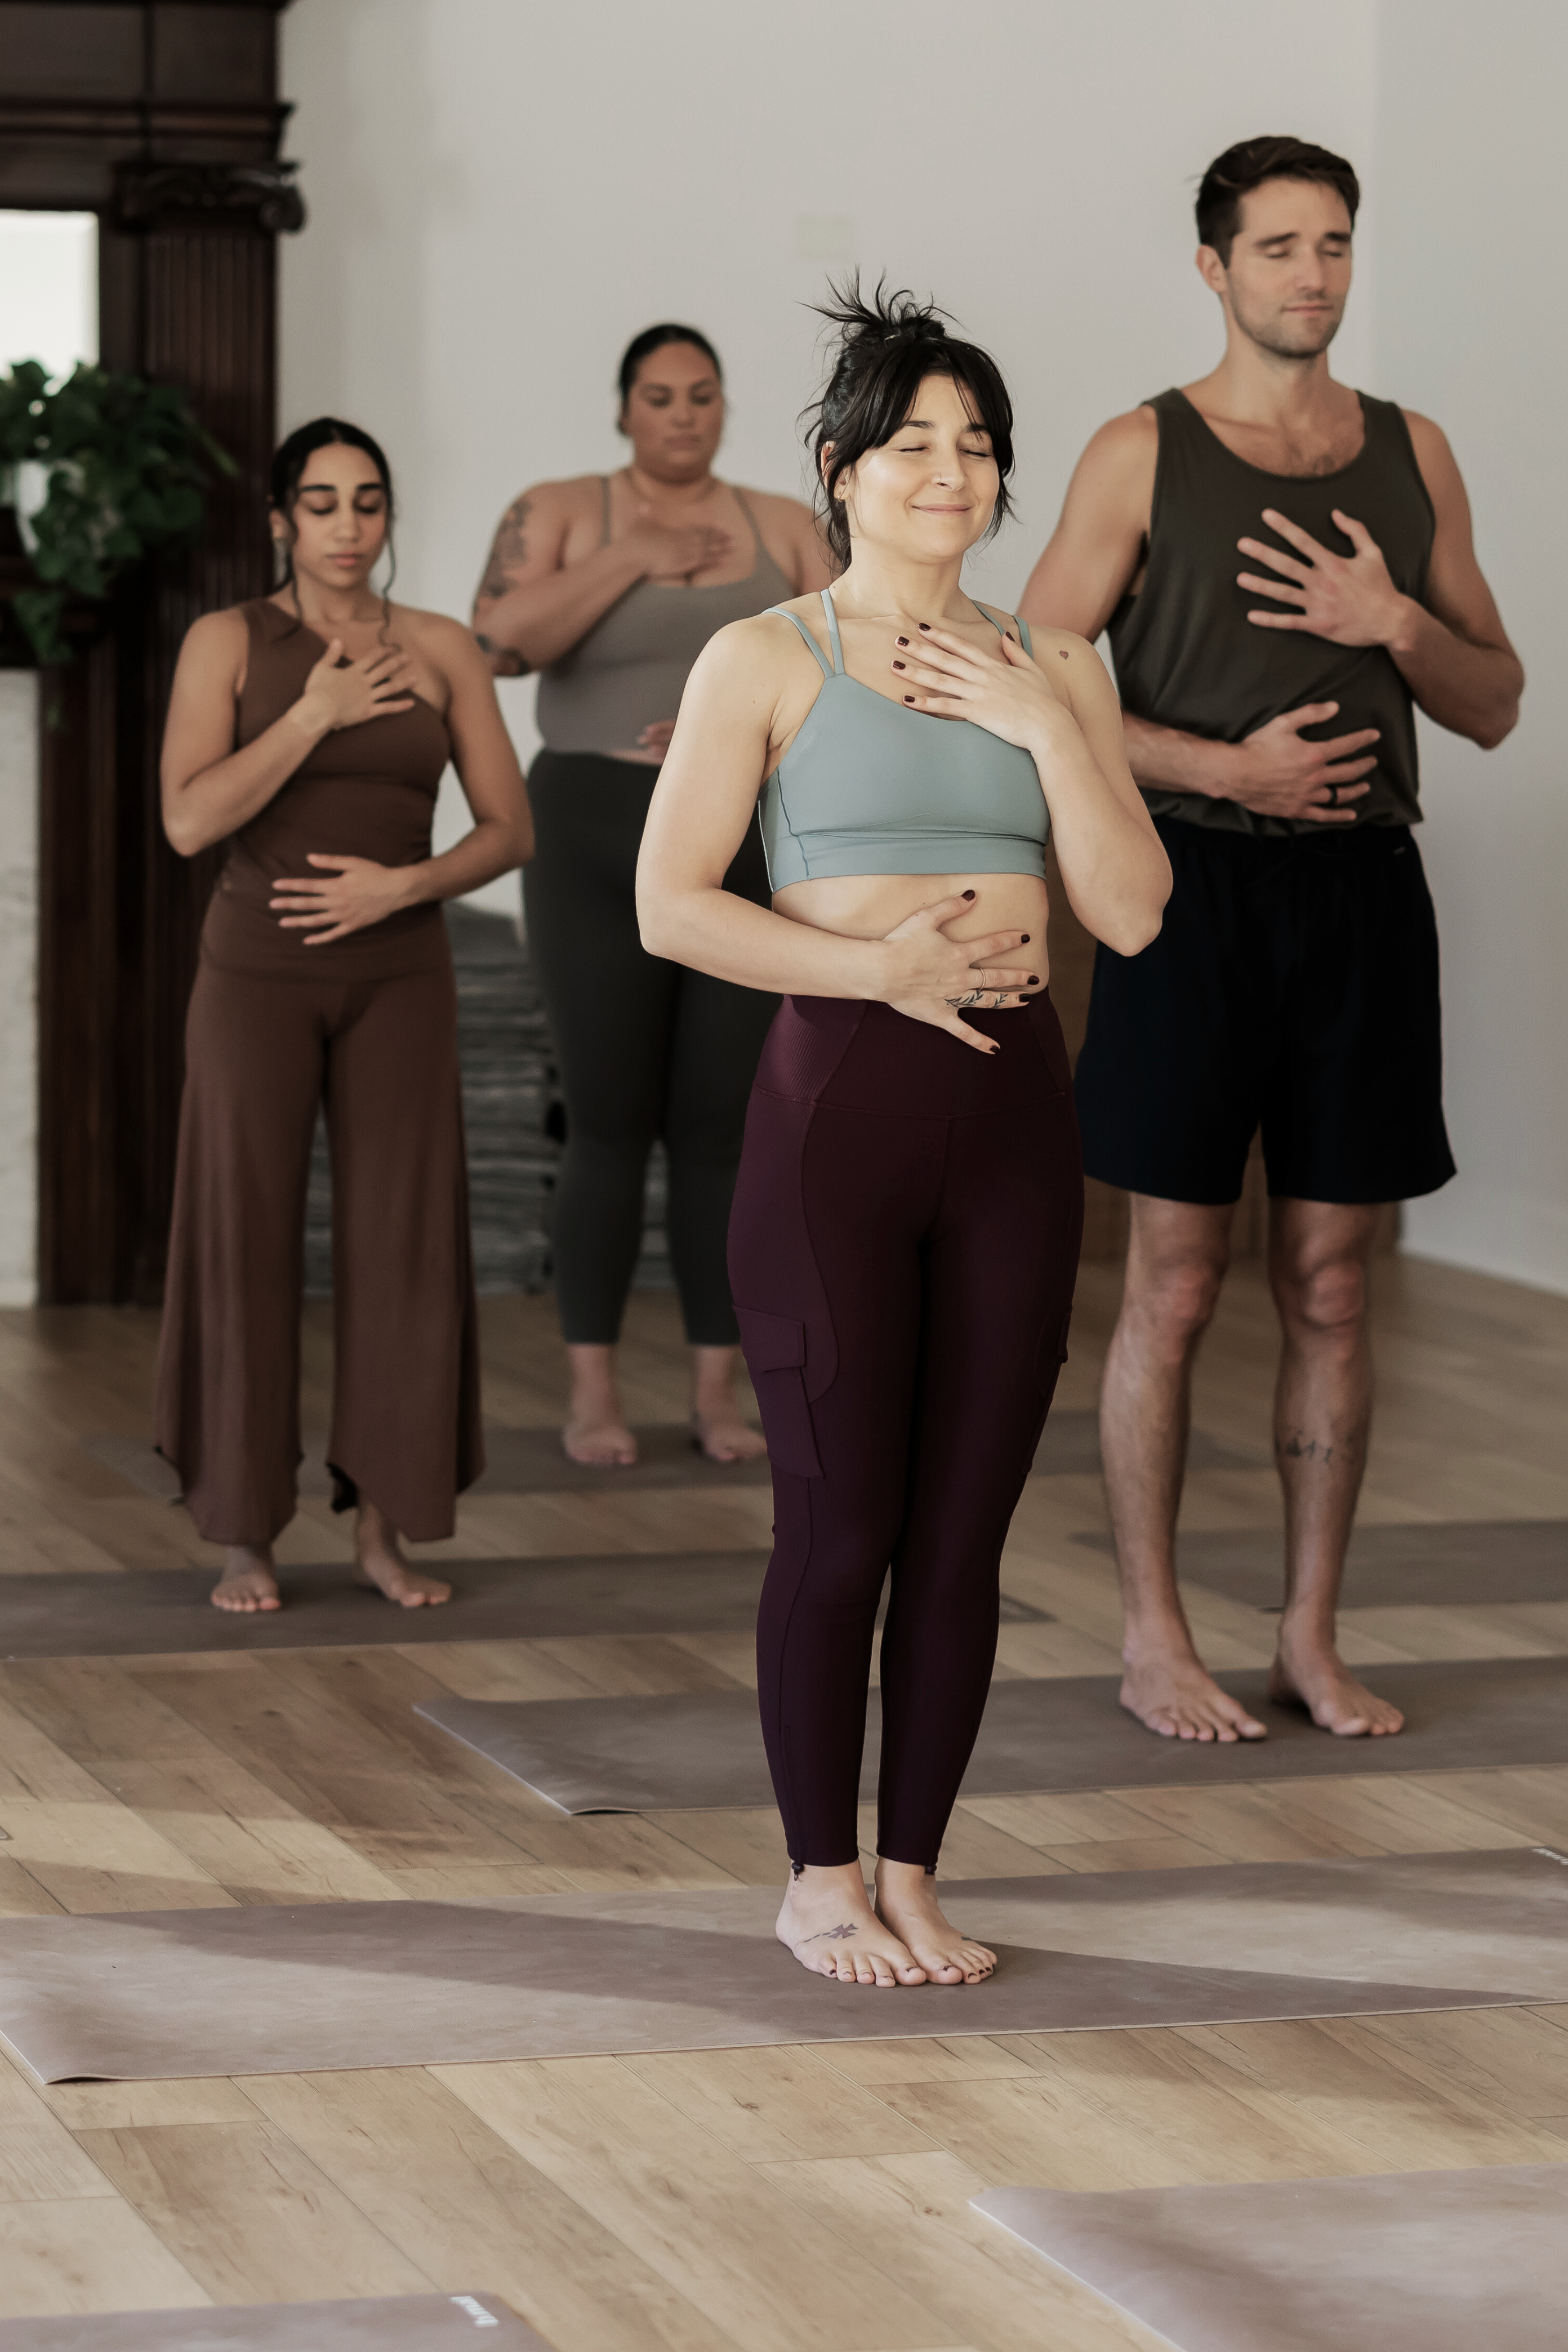
Most people think balance is all about stillness. But in reality, balance is a thousand tiny adjustments happening beneath the surface. And that means we breathe into the shakiness and embrace the challenge.
When we focus on the foundations of Warrior 3 Pose—how the foot connects to the ground, how the hips align, how the arms and side body help create length through the entire body—we uncover the strength, stability, and empowerment this balancing pose can share with us.
When we skip past the details and rush into the shape, we miss the opportunity to build balance. But beyond the physical challenge, Warrior 3 teaches us about presence and resilience. It asks, can you stay steady when things feel uncertain? Can you extend yourself fully in opposing ways at once—grounding down while also reaching forward?
That’s life, isn’t it? Holding onto your foundation while daring to expand into something new. Balancing the wobble of change with the strength of what grounds you.
Each time I teach Warrior 3 Pose, I see students meet themselves in a new way. They realize balance isn’t about perfection—it’s about practice. It’s about showing up, shaking, breathing, and trying again. That is where the true power of this pose lives.
So let’s start from the ground up.
Build Your Warrior 3 Pose From the Foundation
Once you’re in Warrior 3 (Virabhadrasana III), you realize it’s a full-body pose. The standing leg works just as much as the lifted one, the abdomen and back body work together to keep the spine strong and straight, and the arms exemplify how both strength and flexibility are needed to find ease in a pose. Balance doesn’t come from one muscle—it comes from everything working together, including the breath.
Let’s break it down.
Focus on Your Foundation
Balance starts from the ground up. When the foot of your standing leg is active and connected, everything above it feels more supported. Reminding students or ourselves of this earlier in class, when both feet are on the ground as in Mountain Pose (Tadasana), helps ensure we understand what needs to happen. That sensation can be used a reference point as you shift into the one-legged standing balancing pose.
Try this:
- Stand tall in Mountain Pose and spread your toes wide.
- Press down evenly through the four corners of your standing foot—big toe mound, pinky toe mound, inner heel, and outer heel.
- Lift and lower your toes a few times to feel even the smaller stabilizing muscles in the lower legs and feet. Notice how that affects the feeling of stability in your legs.
In Warrior 3, this grounding work keeps you from collapsing into the arch or rolling to the outer edge. Instead, you create an active, supportive platform that can sustain your balance.
Practice Aligning Your Hips
If the foot is the foundation, the pelvis is the control center. Warrior 3 tends to tempt the body to take shortcuts—especially when it comes to the hips. Most often, the hip of the lifted leg wants to open to the side to compensate for the amount of strength it takes to find balance in the pose. Yet your body finds strength in symmetry with both hips facing the mat.
So focus on internally rotating the lifted leg, or focusing on letting the outer hip of the lifted leg rotate down towards the floor as the inner leg lifts upward toward the ceiling. This builds strength and stability in other poses in which the symmetrical positioning of the pelvis is just as important, including inversions and deep standing twists.
I often use a wall to help the body explore and hold alignment.
Try this:
- Stand a leg’s length away from the wall. Turn to face away from the wall with two blocks on their highest height at your sides.
- Hinge at the hips and come forward into Standing Half Forward Bend (Ardha Uttanasana). Place one hand on each block.
- Keep the length in your spine as you lift one leg and place that foot against the wall.
- Press into the wall and internally rotate your leg so your toes are pointed straight down toward the floor. Use this positioning and engagement as instruction on how to hold yourself when practicing Warrior 3 away from the wall.
Practicing this supported variation removes the distraction of the arms and directs the attention to the pelvis. It gives students the chance to feel how the femur bone integrates into the hip socket and what the hip alignment requires. Over time, that awareness creates not just steadier Warrior 3s, but a stronger sense of awareness about your practice.
Create Length Throughout Your Body
Warrior 3 isn’t just about lifting the back leg—it’s about finding length from the standing heel all the way through the crown of the head. Once your foot and pelvis are steady, you can focus on the rest of the body. Think of the sides of your body as stretching equally. Instead of collapsing the chest or arching the low back, you’re creating one long, straight line from back to front.
This is where the use of the entire core—front, back, and side body–is essential. Rather than thinking of “engaging the core,” imagine gently drawing the lower belly inward and upward from all sides to support the spine. The front body lifts, the back body broadens, and the side body lengthens so the breath has room to move.
When students connect to this sense of length, Warrior 3 stops feeling like a struggle to find and hold your balance and starts feeling like extension in every direction. That integrated strength makes the pose lighter, more sustainable, and surprisingly expansive.
Turn Your Wobbling into Power
The truth is, wobbling in Warrior 3 is part of the practice. The trembling in the standing leg isn’t failure—it’s your muscles firing and your body’s way of reminding you that you can do hard things. The micro-adjustments in your ankle aren’t weakness—they’re your nervous system doing its job. The breath catching in your chest isn’t a sign to quit—it’s an invitation to greater awareness.
Every wobble is your body learning. Every correction is your strength being built.
When you or your students can embrace this, Warrior 3 transforms from an everyday posture that some might come into mindlessly to a humbling, empowering challenge. They walk away not just with stronger legs and better balance, but with a reminder that steadiness is something we cultivate, not something we’re simply born with.
5 Warrior 3 Practice Tips
If you want to help your students or yourself feel more confident as they explore the potential of Warrior 3, here are a few practical approaches.
1. Use Props
Place blocks under your hands when hinging forward. This allows you to remove balance from the equation as you focus on the spine remaining long and bringing your hips into alignment.
2. Micro-bend the Standing Leg (If You Need)
A tiny bend in the knee of your standing leg prevents hyperextension in the joint and can provide a little more room to find evenness in the pelvis.
3. Check Your Breath
If you’re holding your breath, you’re holding too much tension. Release where you can, even as you strengthen. These two aren’t mutually exclusive.
4. Build Progressively
Instead of jumping straight into the arms extended version of Warrior 3, layer the work. Start in High Lunge or Warrior 1, shift forward as you continue to lift your back heel, and then slowly float the back foot. Pause at each stage so the body learns the way into the pose.
5. Hold the Pose as Long as You Can
This is where the magic happens. Once the novelty wears off, the deeper strength shows up. Of course, when you’re first learning Warrior 3 or coming back to your practice after a while, you might balance only for a micro-second. And that’s perfectly okay.


