This entry was posted on Nov 19, 2025 by Charlotte Bell.
There are a handful of yoga poses that I’d classify as “complicated.” By complicated, I’m referring to the number of elements that need to line up in order for a person to be able to practice the pose with stability and ease. The list of complicated poses includes a lot of yoga’s “fancy” poses such as Full Pigeon (Eka Pada Raja Kapotasana) and Revolved Crow Pose (Parvrtta Bakasana). These are poses I don’t feel comfortable writing about. Learning these poses requires the guidance of an in-person, experienced teacher. Instead, I’d like to break down the steps to a relatively common—but complicated—pose: Revolved Side Angle Pose (Parvrtta Parsvakonasana).
Elements of Revolved Side Angle Pose
Practicing Revolved Side Angle Pose requires a number of important skills, and as such, it helps us cultivate those skills as well. Parvrtta Parsvakonasana is a variation on Warrior Poses (Virabhadrasana). So leg strength is key.
It is also a challenging balancing pose. There are several reasons for this. First, it’s very difficult to ground the heel of the back foot while still keeping the foot facing forward. So unlike the other wide-legged standing poses, the back foot can’t as effectively act as an anchor. Also, twisting can sometimes be disorienting, which can challenge stability. When paired with strength and stability challenges, adding in spinal rotation can be a lot to navigate.
How to Prepare for Parvrtta Parsvakonasana
Here are several poses that can help you prepare for Revolved Side Angle Pose:
- Talasana (Palm Tree Pose): Palm Tree Pose stretches the sides of the body to help prepare for twisting.
- Anjaneyasana (Crescent Lunge Pose): Crescent Lunge stretches the quads and hip flexors. This prepares the body for Warrior I Pose (Virabhadrasana I).
- Parvrtta Anjaneyasana (Revolved Lunge Pose): Because your back knee is grounded, this is basically a more stable version of Revolved Side Angle Pose. It allows you to focus on twisting without worrying about losing balance.
- Virabhadrasana I: Warrior I allows you to explore stability with your legs in the same position they’ll be in during Parvrtta Parsvakonasana.
These are what I’d consider to be the essential poses to prepare your body for Revolved Side Angle Pose. Practicing other wide-legged standing poses such as Trikonasana (Triangle Pose), Parsvakonasana (Side Angle Pose), Parsvottanasana (Pyramid Pose) and Virabhadrasana II (Warrior II Pose) could also be helpful for warming up your legs and cultivating stability.
Once you’re prepared, you can move on to Parvrtta Parsvakonasana.
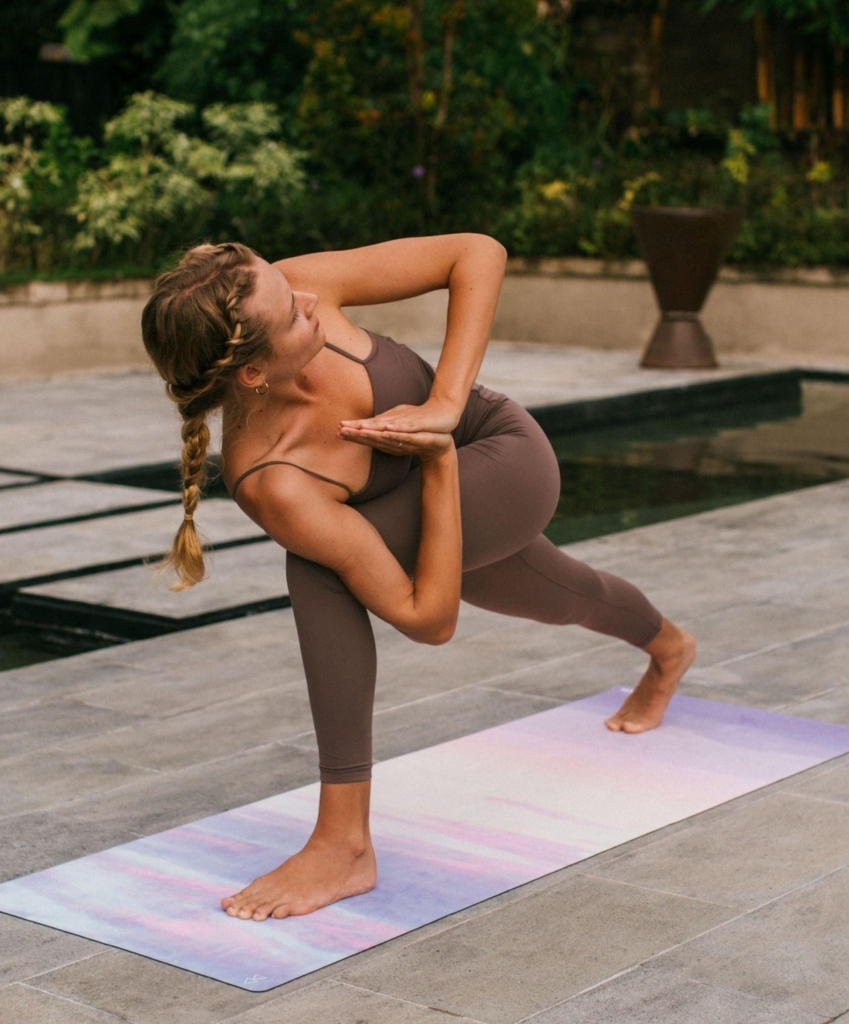
How to Practice Revolved Side Angle Pose
- Stand in Tadasana (Mountain Pose) on one end of a nonskid yoga mat.
- Place your hands on your hipbones.
- Step your right foot back 2-3 feet, keeping your feet hips-width apart from left to right. Do not try to line up your heels. That position is structurally unstable and will only make balancing much more difficult.
- Bend your left knee, moving into Warrior I, keeping your hands on your hips. You do not have to bend the knee to 90 degrees, but do make sure the knee is directly over your heel and not in front of it.
- Allow your right heel to lift off the floor.
- Rotate your torso toward your left leg, keeping your torso upright for now. Place your right hand on the outside of your left thigh.
- As you rotate allow your entire right leg, including the pelvis, to rotate toward the left leg.
- Lengthen your torso as you extend forward over the left leg.
- Begin by placing your right hand on the outside of your left thigh. Then slowly begin to slide the arm down the leg to the point where your breathing becomes restricted. Then back off to the point where you can breathe easily. For some people, placing the elbow on the outside of the opposite knee will allow for deep breathing. For others, it might be more appropriate to place the hand or forearm on the outside of the thigh.
- If your elbow is on the outside of the left thigh, place your hands in Anjali Mudra (Prayer Position).
- Even though your right heel is not on the floor, keep your right leg actively extending with the heel reaching down toward the floor.
- Take 5 to 10 deep breaths here. If your breathing feels restricted, lift your torso up a bit away from your left leg.
- To come out of the pose, lift your torso up, rotate back to the center, straighten your left knee and step the right foot forward—in this order.
- Stand in Tadasana and check in with what changes may have taken place in your body.
- Repeat on the other side.
About Charlotte Bell
Charlotte Bell discovered yoga in 1982 and began teaching in 1986. Charlotte is the author of Mindful Yoga, Mindful Life: A Guide for Everyday Practice and Yoga for Meditators, both published by Rodmell Press. Her third book is titled Hip-Healthy Asana: The Yoga Practitioner’s Guide to Protecting the Hips and Avoiding SI Joint Pain (Shambhala Publications). She writes a monthly column for CATALYST Magazine and serves as editor for Yoga U Online. Charlotte is a founding board member for GreenTREE Yoga, a non-profit that brings yoga to underserved populations. A lifelong musician, Charlotte plays oboe and English horn in the Salt Lake Symphony and folk sextet Red Rock Rondo, whose DVD won two Emmy awards.

")


