Published December 17, 2025 04:40AM
Have you ever ended the day feeling like your head is just too heavy for your neck? You close your laptop, rub the base of your skull, circle your shoulders, or maybe tilt your head side to side. It helps for a moment…until the next day when your neck feels exactly the same.
People throw around terms like “tech neck” to describe the discomfort, but neck pain is rarely just about the neck. It’s about how your head, upper back, shoulders, ribs, and even your breath are working together—or not. Over time, an unsupported upper body leads to tension in your neck that feels as if it just won’t go away.
The good news? Once you understand the basics of how to stretch your neck and the surrounding muscles, a short and smartly designed yoga practice can help change the way your neck is supported, leading to long-lasting relief.
Anatomy of Your Neck
Your neck, or cervical spine, is made of seven small bones stacked in a gentle curve. That curve helps carry the weight of your head, which is roughly 10 to 11 pounds. Along the front of the neck are small muscles that stabilize the head. Along the back and sides are larger muscles, including the upper trapezius, that are responsible for lifting and turning the head.
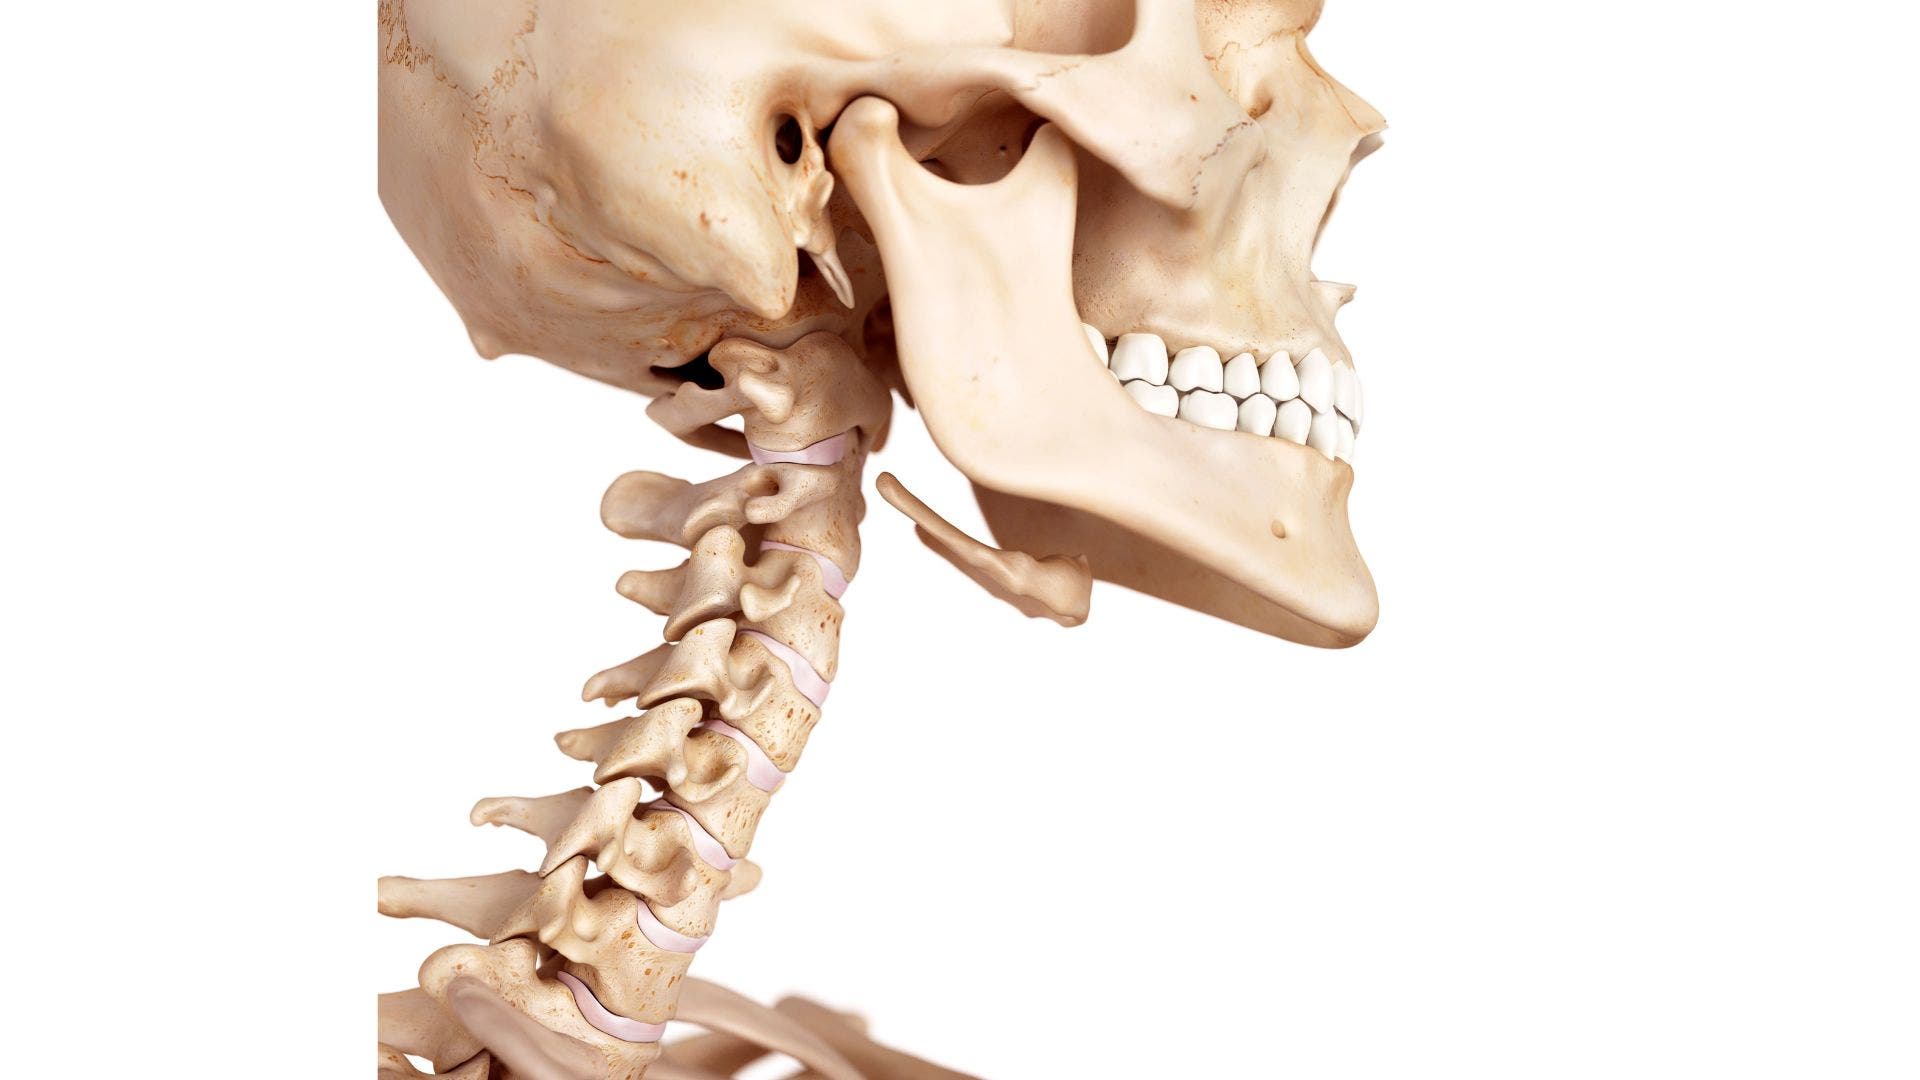
Your upper back (thoracic spine) connects to your rib cage. When the upper back is mobile and not overly rounded, it provides a strong base for your neck. Finally, your shoulder blades sit on the back of your ribs like small moving platforms that support your posture and any twisting and turning motions.
That’s a lot of work for a small area—which means that when one part is out of alignment, the entire body is compromised.
How We Over-Stress the Neck
Most of us tend to stay in one position for too long. It doesn’t matter whether it’s slumped or upright—if it’s static, muscles fatigue and joints stiffen. The neck takes the hit first because it’s holding your heaviest top piece.
Long hours spent with the head tilting forward toward a screen flatten the natural curve in the neck and round the upper back. When the upper back collapses forward, your neck lifts to keep your eyes level, often compressing the base of the skull. The stabilizers at the front of the neck switch off; the bigger muscles at the back grip and hold. The shoulders hike up and roll forward. The neck then has to hold a heavy head on top of a rounded back and shrugged shoulders.
Layer stress on top of that. Shoulders creep up, the jaw tightens, and breathing shifts higher into the chest. Neck muscles start assisting with every breath. The result is familiar: tight neck and shoulders, stiffness turning the head, tension headaches, and a posture that feels stuck.
Over time, that becomes the new normal.
But once you recognize this pattern as it’s happening, you can work with it instead of fighting symptoms one stretch at a time.
10-Minute Yoga for Neck Pain Sequence
Practiced regularly, this short yoga for neck pain sequence retrains the way your upper body carries your head. You’re not chasing a rigid, picture-perfect posture. You’re teaching your ribs, shoulders, and upper back to share the load so your neck can finally stop doing everyone else’s job. Over time, the result is a more relaxed neck and a spine that feels better equipped to support the way you live and work.
Breath is the quiet hero. Longer, softer exhalations turn down baseline tension. As your system shifts out of constant “fight or flight,” the muscles around your neck and shoulders often start to let go.
If you experience a sharp pain that travels into your arm or hand, numbness, tingling, or unexplained weakness, or you’ve had a recent neck injury or surgery, talk to a physician before practicing. Move only in ranges that feel pain-free a mild stretch is okay, escalating pain is not.
1. Simple At-Home Neck Check
This quick exercise shows you how much your neck is working to keep your head stacked over your body.
How to:
- Stand with your back toward a wall with your heels about a hand’s length away. Gently lean the back of your pelvis and the area around your mid-ribs toward the wall without forcing anything flat.
- Notice your head. Does the back of your head touch the wall easily? Or do you have to lift your chin or push your ribs forward to get there? Instead of forcing contact, imagine a gentle lengthening through the back of the neck, as if the crown of your head were floating slightly up and back. Take 3-5 slow breaths here.
2. Gentle Neck Rotations (Griva Sanchalana)
Reduce stiffness in the neck, wake up your muscles, and reassure your system that the neck can move without danger with these simple movements.
How to:
- Sit or stand with a relaxed, upright spine. Let your shoulders soften.
- Slowly nod “yes,” bringing the chin a little toward the chest as you exhale and back to neutral as you inhale.
- Then explore “no,” turning your head gently to one side as you inhale and then the other as you exhale.
- Finally, try “maybe,” bringing one ear toward your shoulder as you exhale and returning to center as you inhale before trying the other side. Keep the movements small, smooth, and coordinated with the breath.
3. Supported Fish Pose (Matsyasana)
A mild backbend, this posture gently encourages your upper back to reverse its rounded position. Supporting your head with a prop allows overworked neck muscles to soften.
How to:
- Lie on the mat with a block or firm cushion under your mid-back (where a bra strap might sit) and another block or cushion underneath the back of your head. Adjust the height of the props so your chest feels gently lifted, your throat feels open, and your lower back and neck feel comfortable. Be mindful not to tilt your head too far back.
- Bend your knees and place your feet on the mat. Let your arms rest by your sides or in a soft cactus shape in Supported Fish Pose. Stay here for 1-3 minutes, breathing steadily.
4. Eagle Arms (Garudasana Arms)
As the space between your shoulder blades initially tenses but eventually relaxes in Eagle Arms, the neck muscles become better supported to maintain upright posture.
How to:
- From a seated or kneeling position, reach both arms forward at shoulder height.
- Cross one arm under the other and wrap them so the backs of your hands or your palms touch. Lift your elbows slightly while sliding your shoulder blades down your back in Eagle Arms. Keep the back of your neck long and your jaw soft. Stay here for 5-8 breaths, then switch the crossing of your arms.
5. Cow Face Arms (Gomukhasana Arms)
As shoulder mobility improves, your neck is less likely to be dragged into awkward angles to compensate for muscle tightness. Cow Face Arms helps with exactly that.
How to:
- Stay seated or kneeling. Lift your right arm by your ear and bend your elbow so your palm faces away from you and your hand moves toward the space between your shoulder blades.
- Bring your left arm behind your back and bend your elbow with your palm facing away from you. Reach toward your right hand. Hold a strap or towel between your hands if they don’t meet. Avoid jutting your ribcage forward and keep your chin parallel to the mat in Cow Face Arms. Stay here for 5-8 breaths, then switch sides.
6. Puppy Pose (Uttana Shishosana)
Another gentle backbend, Puppy Pose stretches your chest and the muscles underneath your arms. Over time, this helps reduce your shoulders’ tendency to hike up toward your ears and cause tension in your neck.
How to:
- Come to your hands and knees with your shoulders stacked over your wrists and your hips over your knees.
- Walk your hands forward and lower your chest toward the mat, keeping your hips stacked above your knees. Rest your forehead on the mat, a blanket, or a block so your neck can lengthen. Let your arms straighten comfortably and relax in Puppy Pose. Stay here for 1-2 minutes, breathing into the sides and back of your ribcage.


