Published February 16, 2026 07:02AM
You’ve no doubt read the science and heard the admonitions from seemingly everyone, whether TikTokkers or your exercise-obsessed friend, about how essential it is to practice strength training. And chances are the areas that you neglect most include arm-strengthening exercises as well as core workouts. Not only are there benefits to these types of resistance training that relate to everyday functionality as well as athletic performance, but research suggests it can literally extend your longevity.
So in theory, sure, making time for working out every day makes sense. In reality, though, you can barely manage to do the other essentials on your never-ending must-do list, let alone make time for an hour-long yoga class at the studio or weight-lifting session at the gym.
There’s a compromise. Whether you’re a beginner to all things workout-related, an avid yoga goer, or an athlete in training, you can easily sneak more physical activity in your lifestyle. And that’s by including a few simple poses that take less than 10 minutes into your routine. The magic of these arm-strengthening exercises lies not only in the poses themselves but in the transitions between them, which effectively engage your triceps, deltoids, and rotator cuff muscles in the shoulders, as well as forearm and biceps. Perhaps the most significant benefit of the specific arm-strengthening exercises that follow is each also engages and strengthens your underused core-stabilizing muscles. That’s the type of multitasking we stand behind.
7 Arm-Strengthening Exercises From Yoga
If you have 10 minutes to spare, practice these poses one in a short sequence that you put on repeat. If you have a minute or two to spare in between your other responsibilities, meetings, or adulting, sneak in one or two poses at a time. You can lower yourself to the mat for a break in Child’s Pose at any time.
The specific sequence is based on what’s commonly referred to in yoga classes as a “vinyasa” and partly makes up the Sun Salutation A sequence—with some variations and extras thrown in for strong measure. But here you’re asked to slow it down and emphasize the strengthening aspect of each pose. See how differently it feels when you’re asked not to rush through each pose. Don’t forget to breathe.
1. Plank Pose
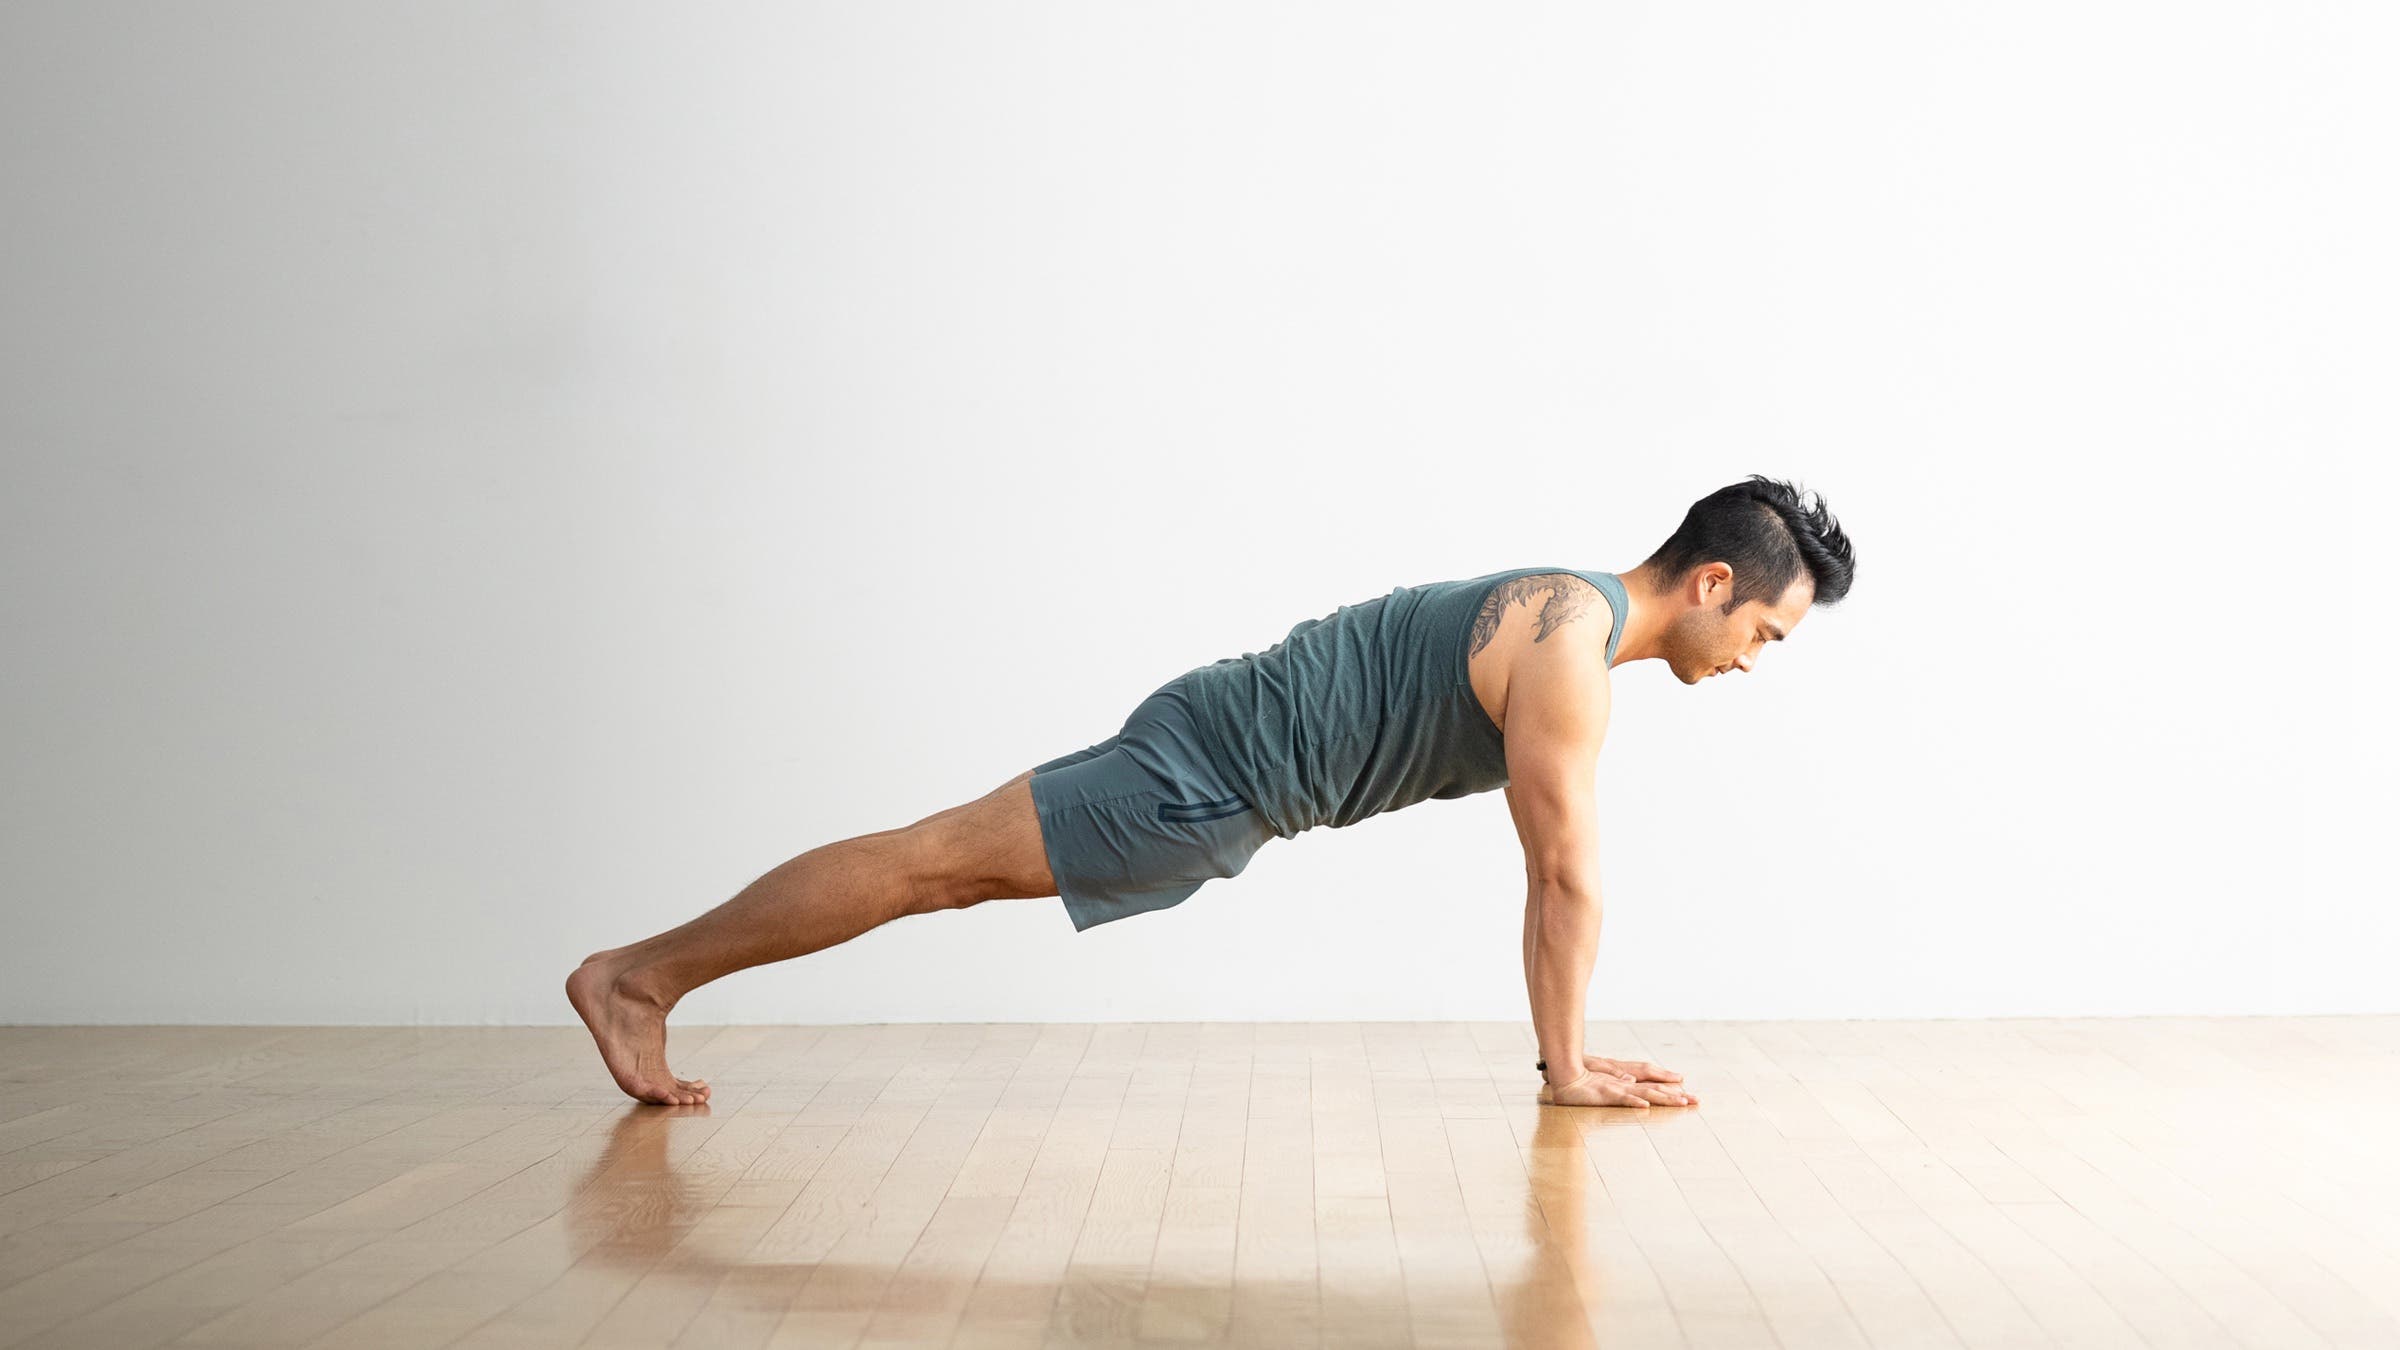
This strengthens the triceps, biceps, shoulders, and chest. You want your body to be in a pretty straight line from the top of your head to your heels. Don’t let your hips sink, or, conversely, jut above the rest of your body.
How to: Start in Plank Pose with your shoulders stacked over your wrists, your toes pressing into the mat, and your feet hip-width apart. Reach your heels toward the wall behind you and draw your belly button toward your spine. Continue to breathe as you hold this position for 20 seconds.
2. Chaturanga
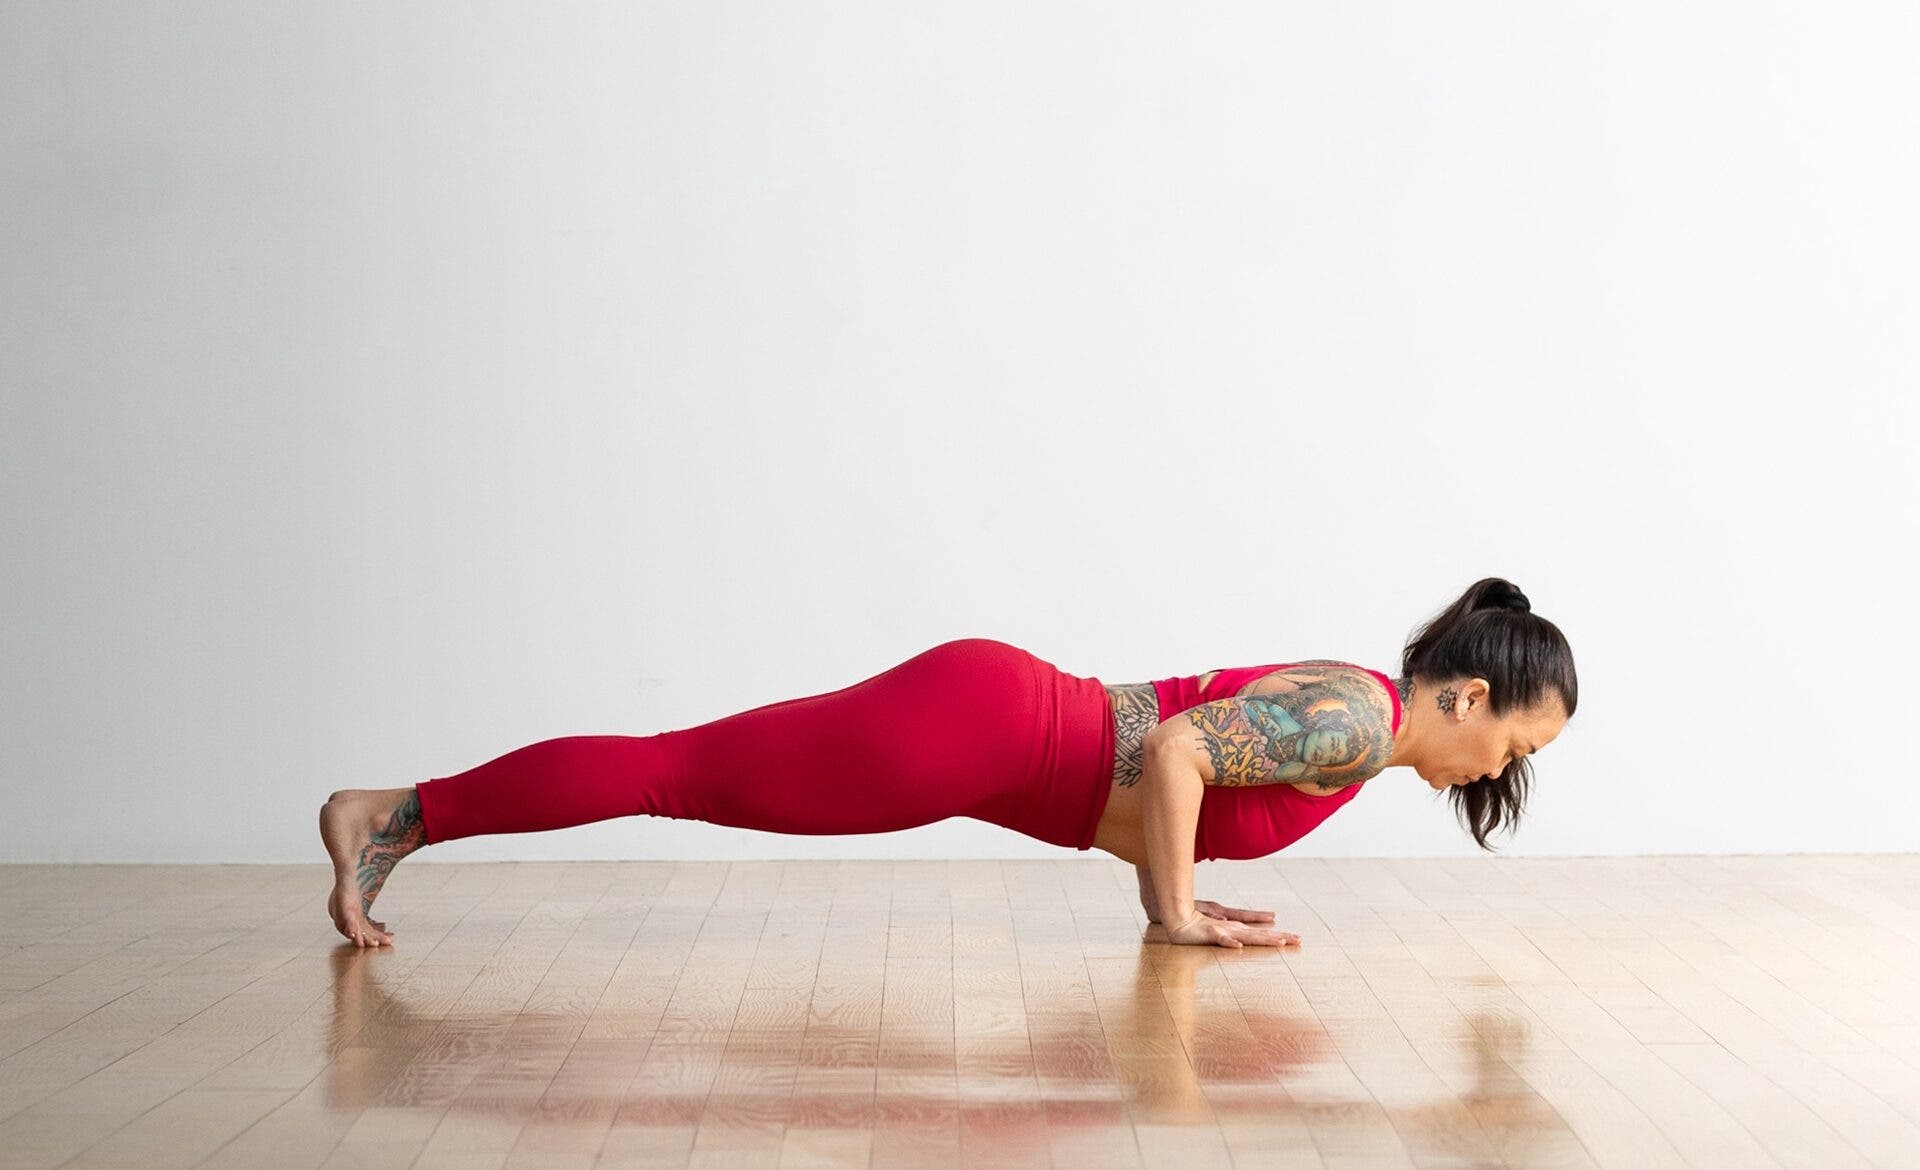
Essentially, nothing is changing about your Plank except you’re bending your elbows.
How to: From Plank Pose, transition into Chaturanga by exhaling as you bend your elbows and hug them toward your sides. Lower your chest toward, but not all the way down to, the mat. Remember to keep your body in a straight line in Chaturanga. You’ll feel this in your triceps and deltoids. Continue to push through your heels as you stay here for another 20 seconds.
3. Cobra Pose
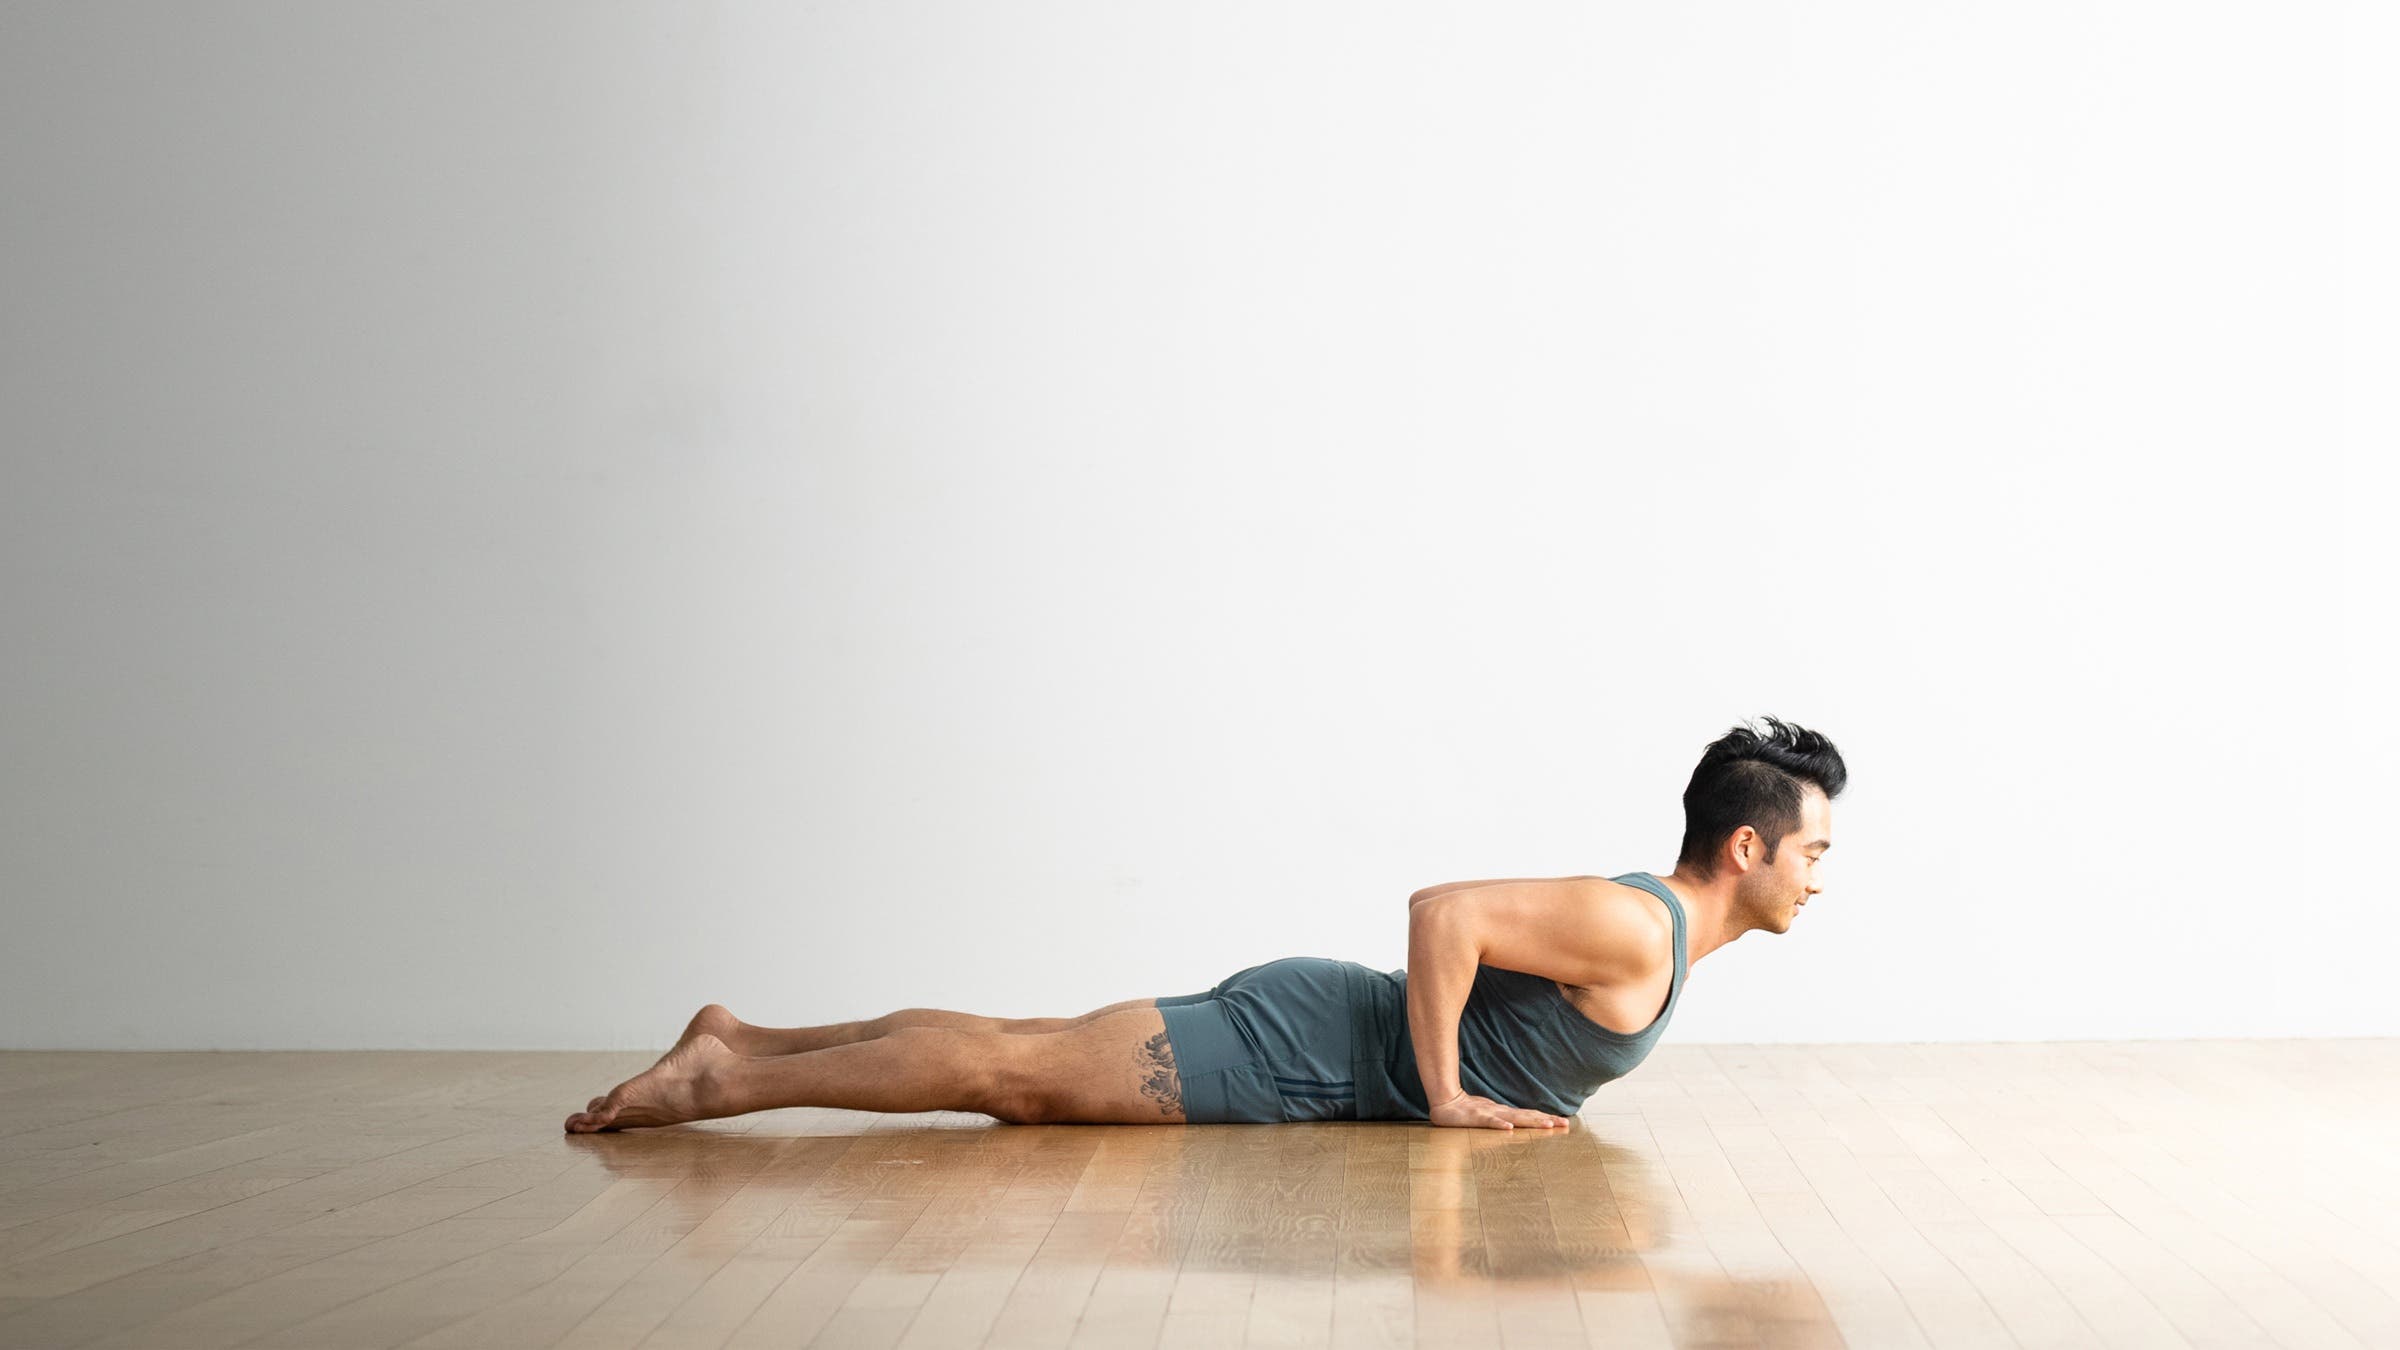
Normally, this yoga sequence transitions from Chaturanga to Upward-Facing Dog. But in a quick 10-minute yoga workout, most of us aren’t yet warmed up enough to do such a dramatic backbend and chest stretch. Try Cobra. It’s a terrific intermediary pose that still works the triceps while giving your spinal muscles and ligaments time to get ready for greater ranges of motion.
How to: From Chaturanga, lower yourself all the way to the mat. Untuck your toes, press the tops of your feet into the mat, and pull your hips forward until your knees are slightly lifted. At the same time, press your palms into the mat as you roll your shoulders back and your shoulder blades toward each other in Cobra Pose. You should feel the biceps as well as the anterior (front) deltoids engage. Breathe here for 20 seconds.
4. Upward-Facing Dog Pose
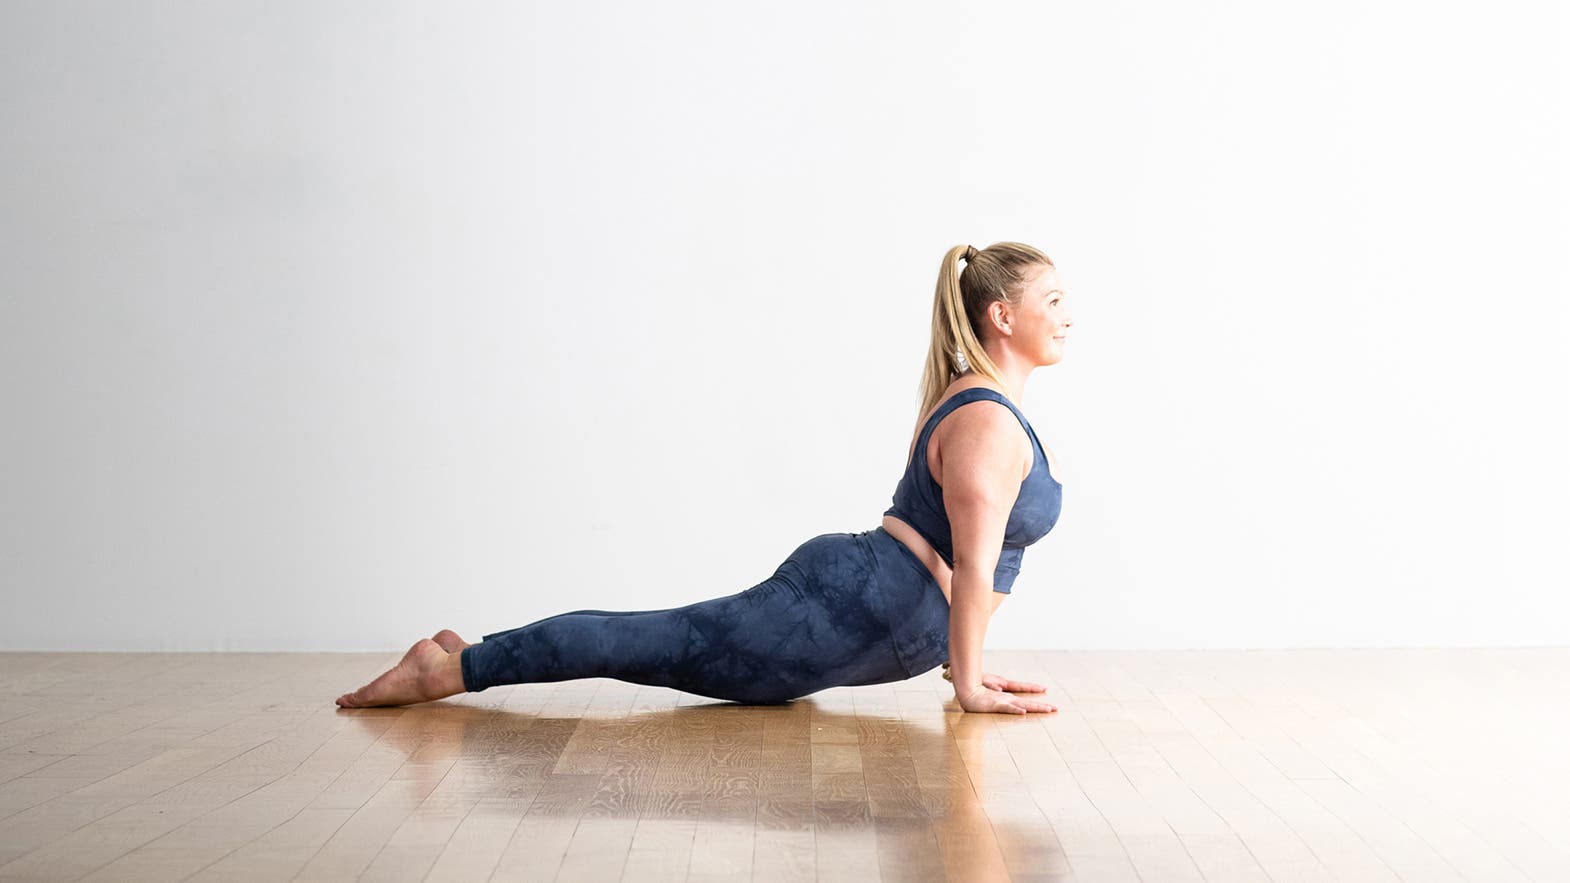
If you’re practicing these poses in sequence, start with a few Cobra Poses and then switch to this more intense backbend.
How to: From Chaturanga, straighten your arms and lift your chest as you either roll over onto the tops of your feet or place the tops of your feet, one at a time, against the mat in Upward-Facing Dog. Your hips will remain lifted off the mat and you’ll feel your triceps and shoulder muscles engaged (and potentially quaking!). Breathe here for 20 seconds.
5. Downward-Facing Dog Pose
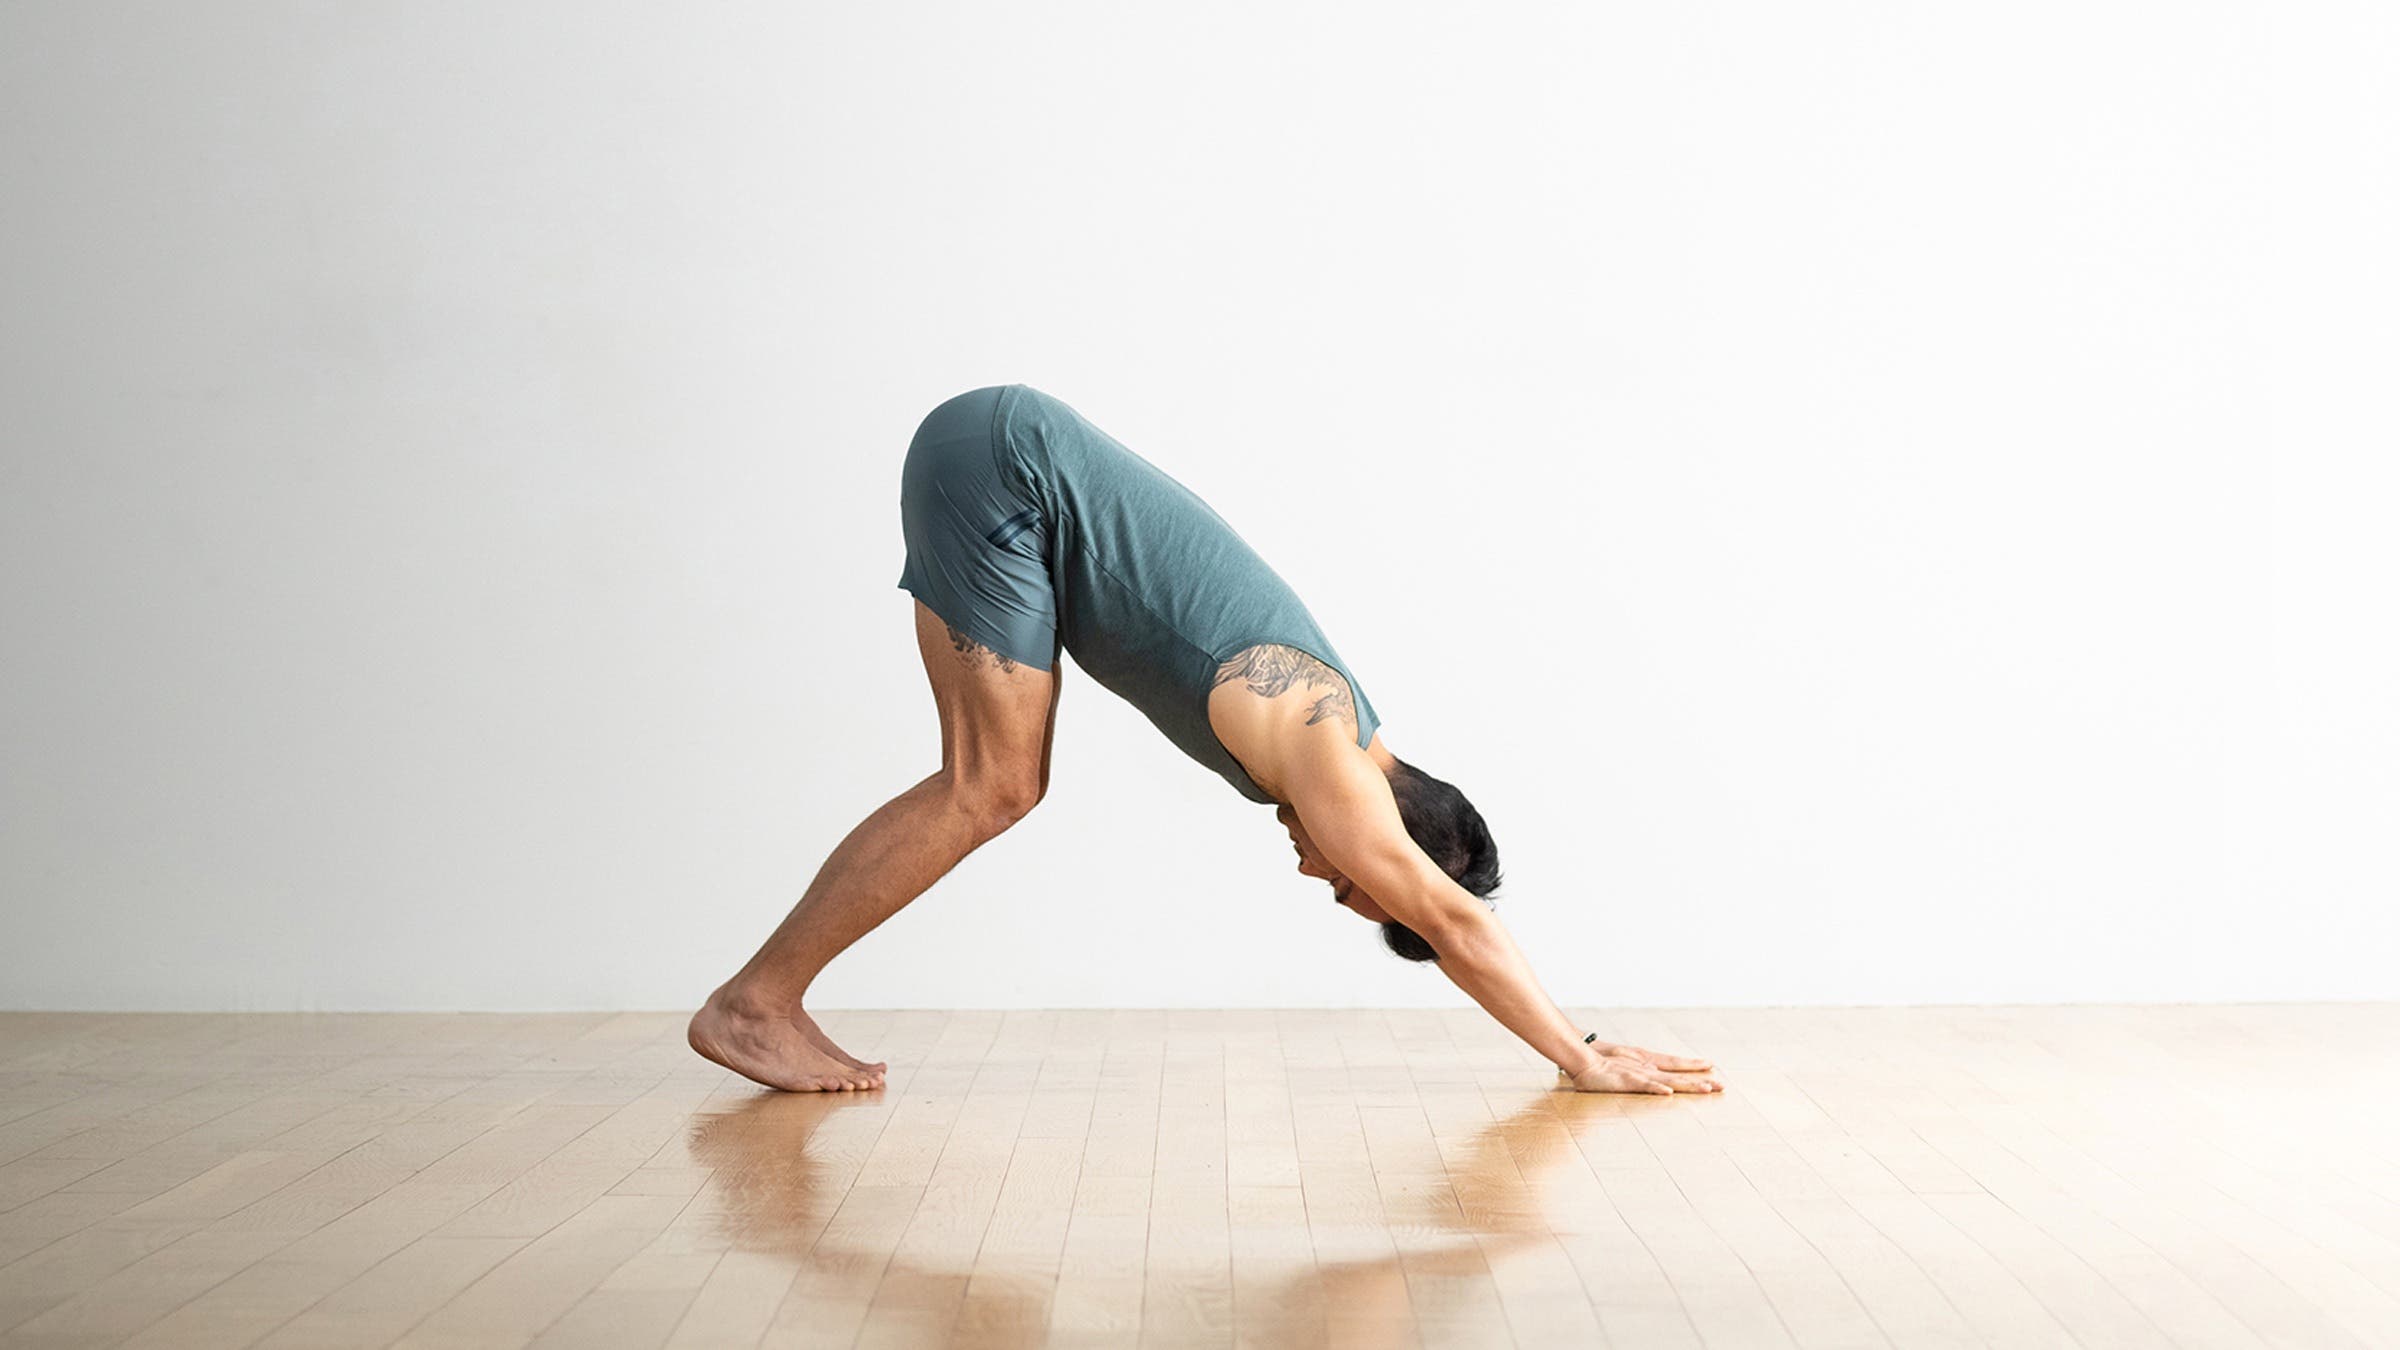
Coming into this pose, whether as part of the sequence or simply from kneeling, activates your triceps. As you come into the shape of Down Dog, try to make an upside-down letter V. Keep a straight line from your bottom to your head and arms, and another straight line from your bottom to your heels.
How to: Ground your hands into the mat, spread your fingers wide, and lift your hips up and back into Downward-Facing Dog. Press your heels toward the mat even if they don’t touch. If your hamstrings or Achilles tendons feel tight, allow for a slight bend in the knee or use a yoga block under each hand. Hold the pose, but not your breath, for 20 seconds.
6. Side Plank Pose
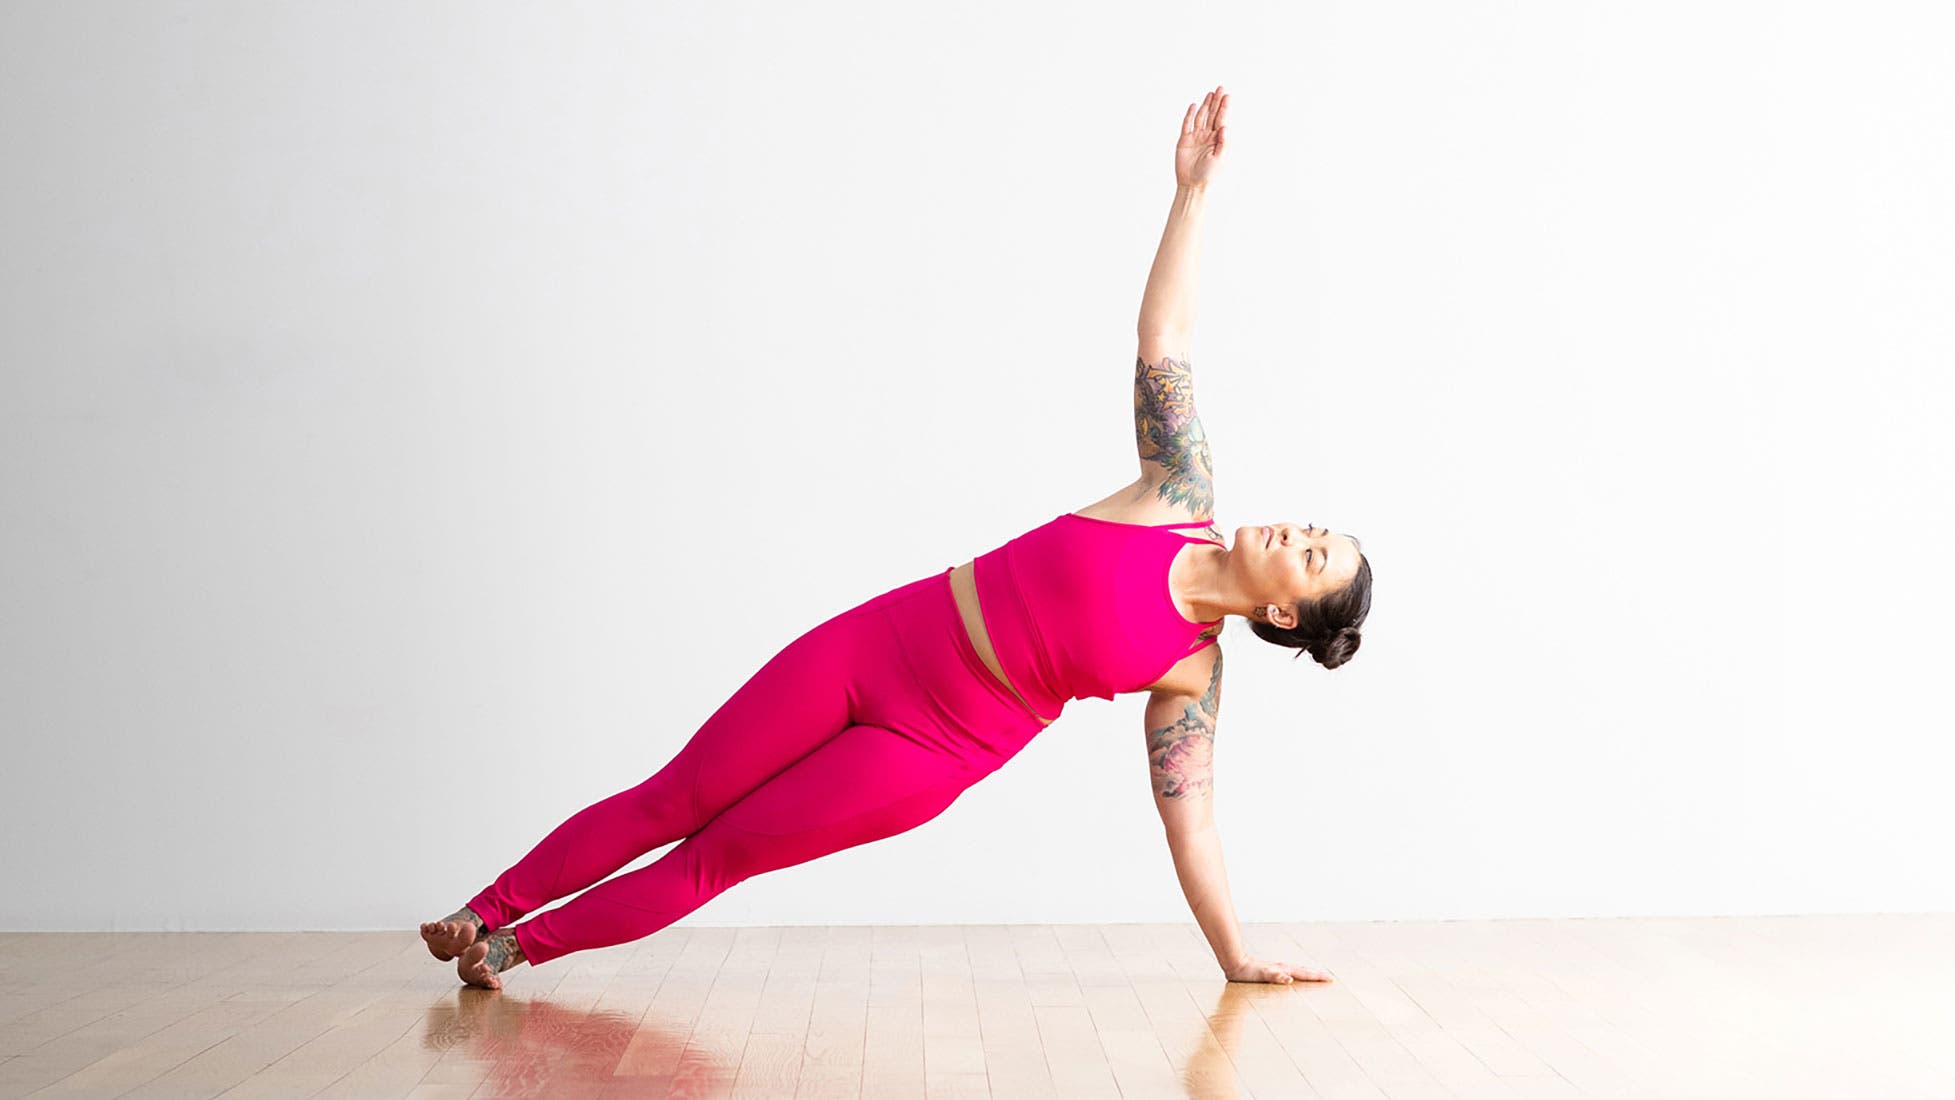
Coming into Side Plank Pose (Vasisthasana) challenges the shoulder and core muscles to support your body in a different plane. Since you’re relying on one arm at a time, you effectively double the usual resistance of most arm balancing poses.
How to: From Downward-Facing Dog, walk your hands forward into Plank Pose. Shift your weight to the right side of your body, pressing your right hand firmly into the mat to activate your upper-body muscles. Roll onto the outer edge of your right foot and stack your left foot on top of your right foot or stagger your feet by placing your left foot slightly in front of the right foot. Reach your left hand toward the ceiling in Side Plank.
Engage your glutes and core to maintain your alignment. Draw your shoulder blades down your back to help engage your shoulders and triceps. Breathe here for 20 seconds.
With control, bring your left hand back down to the mat with control as you also step your left foot back, hip-distance apart from your right foot, into Plank Pose. This transition engages your shoulder girdle and triceps. Shift into Side Plank on the other side. Then come back to Plank and lower your knees to the mat for a rest or take yourself through the final pose.
7. Upward or Reverse Plank
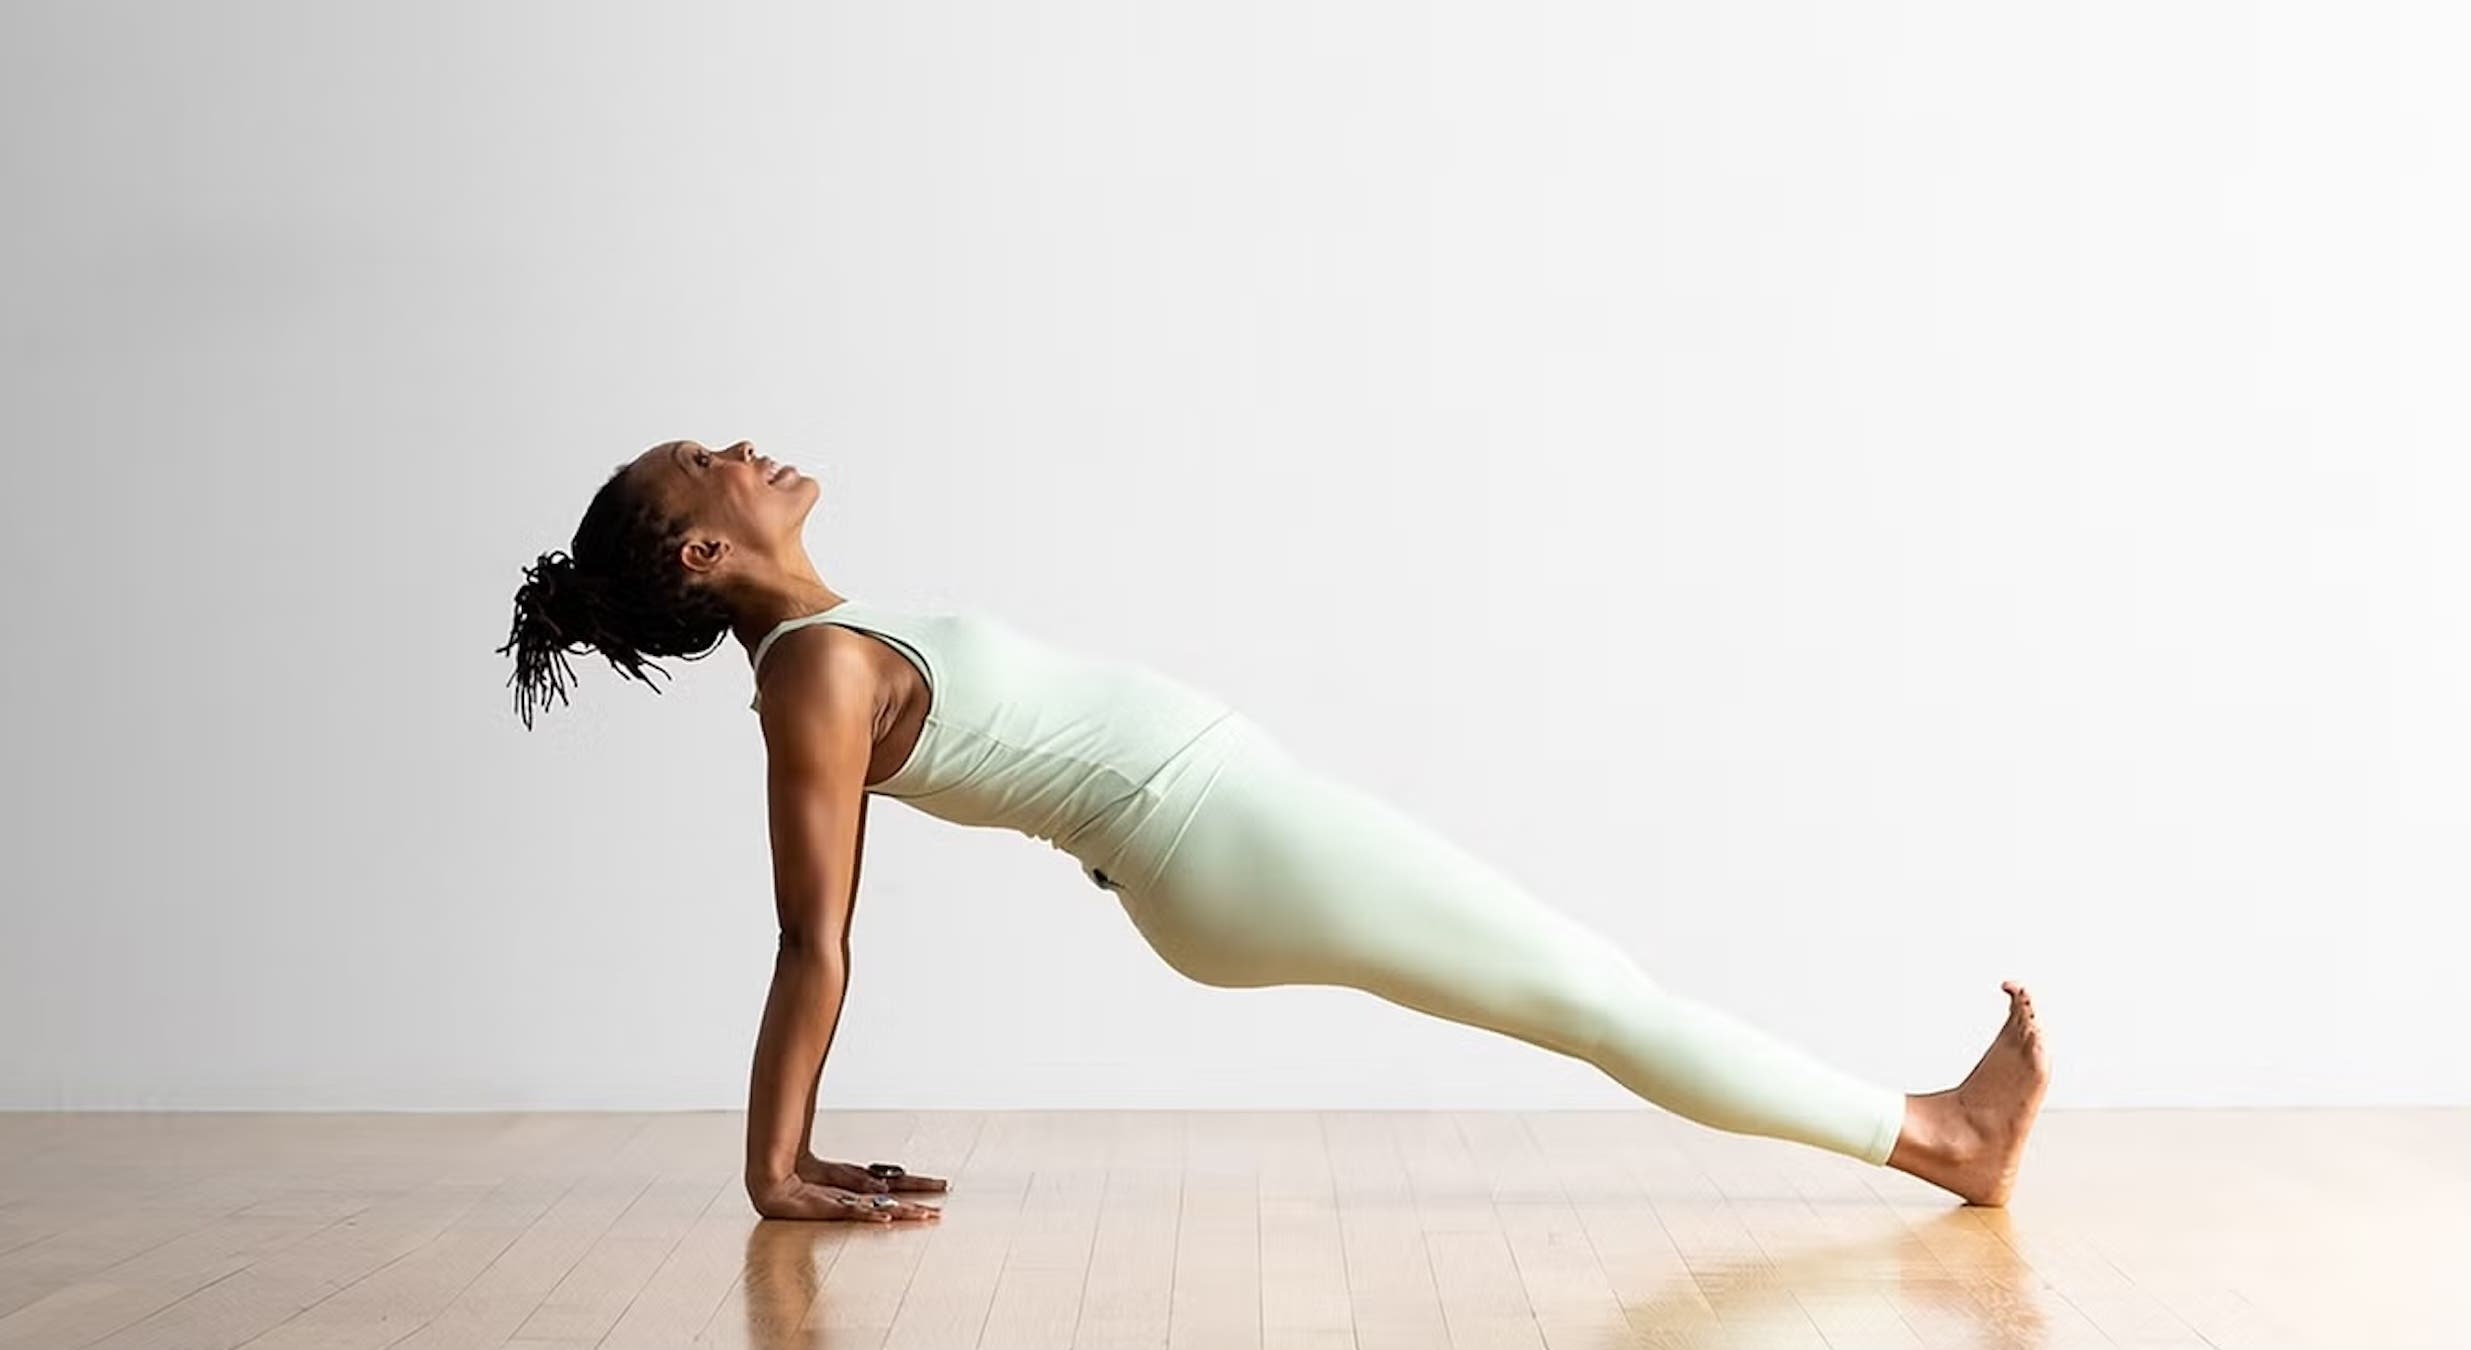
Reverse Plank is an often-overlooked but fantastic pose for strengthening the arms, shoulders, back, and glutes. It’s the final pose in your yoga arm-strengthening workout sequence.
How to: Sit on the mat with your hands behind you, fingers pointing toward you, and your legs straight in front of you. Press your hands and point your toes as you lift your hips into Reverse or Upward Plank. You want to create a straight line with your body. Keep a slight tuck in your chin to keep your neck in line with your spine. Squeeze your glutes and draw your shoulder blades toward each other.
Continue to engage the muscles along the backside of your body as well as the triceps, shoulder muscles, forearm muscles, and wrist muscles as you stay in this pose for 20 seconds.
Slowly lower yourself to the mat. You can call it done or you can take yourself through the arm-strengthening exercises sequence again, letting yourself and your arms rest as needed.
For more short but effective yoga workout ideas, check out our 10-minute yoga workout for core strength here.


